

 Riveting is a wonderful, cold connection way to attach polymer to metal. In this method, the rivets are visible on both sides, so they need to be integrated into the design.
For ideas on how to attach polymer to metal where it’s less visible, or even invisible, please see my blog posts Attaching Polymer to Metal–Part 1: Hot Connections and Attaching Polymer to Metal–Part 2: Cold Connections.
Prepare your rivet by hammering one end of 18 gauge wire into a nail head or balling up one end with a torch. You can hammer the ball flat if you’d like. To rivet, it’s best to use 18 gauge or thicker wire. Head pins will work, though they’re usually 22 gauge and a bit thin and difficult to work with.
I temporarily adhere the polymer to the metal with Liquid Fusion glue so it doesn’t move while I’m working. If you get any glue where it’s visible, it’s easy to remove with a wooden toothpick after softening the glue with water.

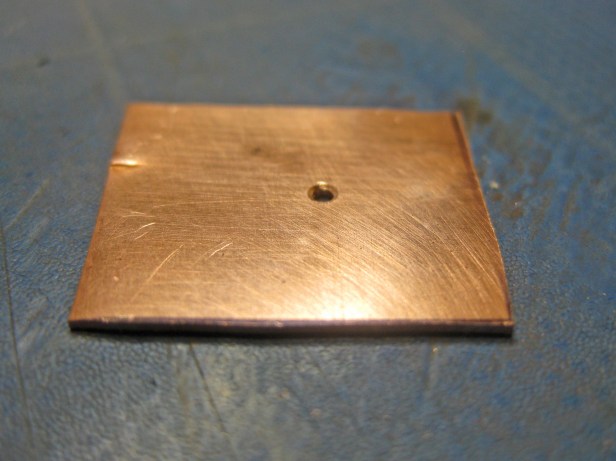
Drill or punch a hole through the metal that’s the same size, or even one gauge smaller, than your wire. It’s important the wire fit very snugly in the hole or it will bend when you hammer it. In the photo above is a nice punch that makes 12, 14, 16 and 18 gauge holes.
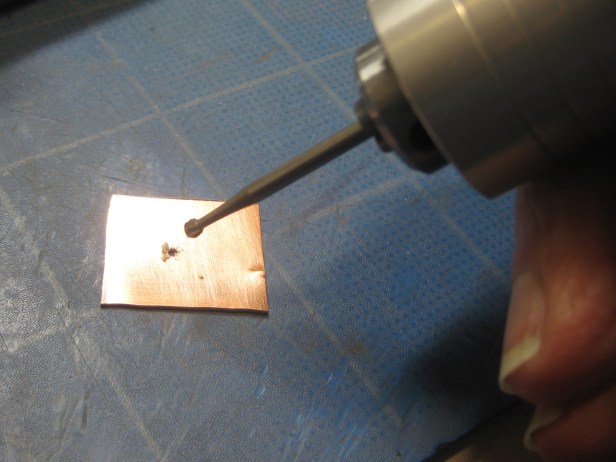
Chamfer the outside of the hole in the metal with a much larger drill bit or ball bur so the edges are clean and beveled.
The metal will fill this little beveled hole when you hammer the rivet.

Drill a hole in your polymer a gauge or two smaller than the wire because polymer is flexible and we need a snug fit.

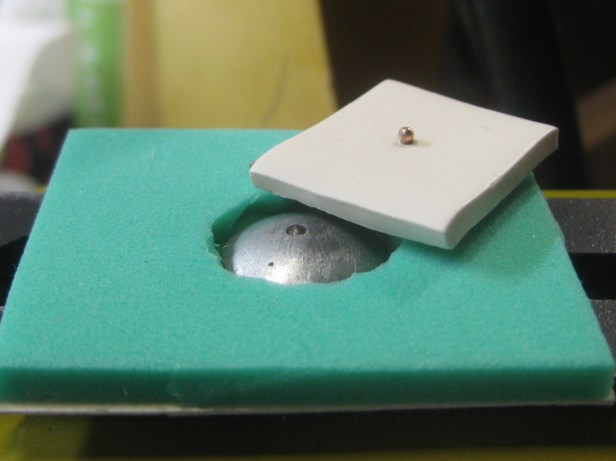
To protect the ball head on the rivet, buy or make a riveting anvil. I made one by taking a bolt with a rounded top and drilling a round divot in it with a ball bur. If your rivet is flat-headed, you can hammer it on a flat steel block.

I made the divot large enough for my typical, ball-headed rivet and deep enough so most of the ball fits inside. The top shoulder of the rivet still sticks out.
An anvil will prevent the ball from getting squashed when hammered. It will also burnish the ball and make it shiny.
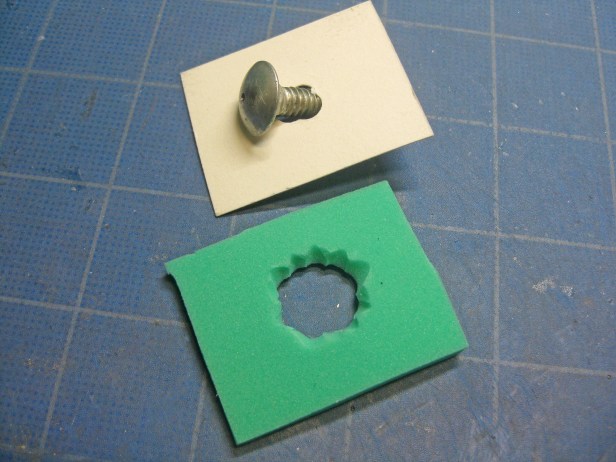
Then, I punched a large hole in a piece of card stock and cut a hole out of a piece of thin foam with scissors. Layers of fabric work, too. I threaded the bolt through the card stock and super glued the foam to the paper with the bolt sandwiched in between.

This allows just the top of the anvil to stick out and gives a cushioned area for my jewelry to rest.
Put your new anvil in a vice.

Push your rivet through the polymer and metal and trim the end of the wire flat so it sticks up about a millimeter above the metal. File or sand the end of the wire to remove any cut marks.
Place the ball head of the rivet in the hole in the anvil.

Hammer the end of the wire with gentle taps using a riveting hammer or the round end of a chasing hammer until the rivet is fairly flat and fills the beveled hole.
Since you’re hammering only the rivet, it shouldn’t affect the polymer. Avoid hitting the sheet metal. I make a shield out of a piece of artist’s tape with a hole in it to protect my metal from accidental scratches. If your rivet is in a tight space, use a screw or a nail with the end filed smooth, or a similar tool, to reach the rivet.

Sand until it’s level with the metal, feels smooth and doesn’t catch on anything. (The photo above is before sanding.)
The top view of the finished rivet.

Hi. Does this technique work when attaching clay to clay? Or is there a different way to do this? Thanks
LikeLike
This would work for riveting layers of polymer only because the only thing you’re hammering is the rivet. Make sure the wire fits snugly into the polymer so it has some support and doesn’t bend when hammered.
LikeLike
Thank you. I really want to try this.
LikeLike
Hi. Does this work when attaching polymer to polymer? Thanks
LikeLike
Thank you. I really want to try this.
LikeLike