
Following are methods of attaching polymer to metal that don’t necessarily require a torch.
1. Polymer rivets
I was trying to attach a baked sculpted polymer piece to metal. I feared that hammering a rivet would damage my sculpting, so I tested a polymer rivet.
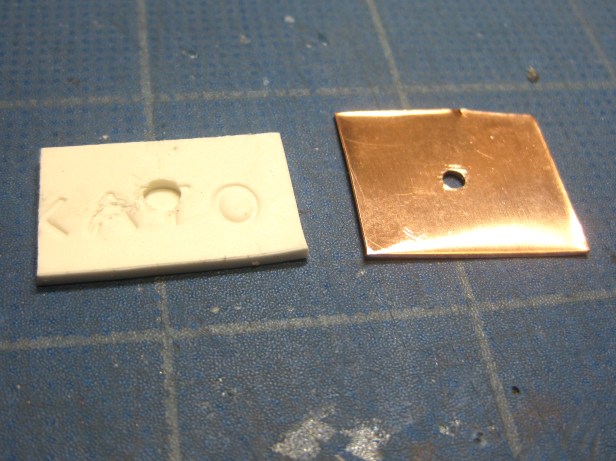
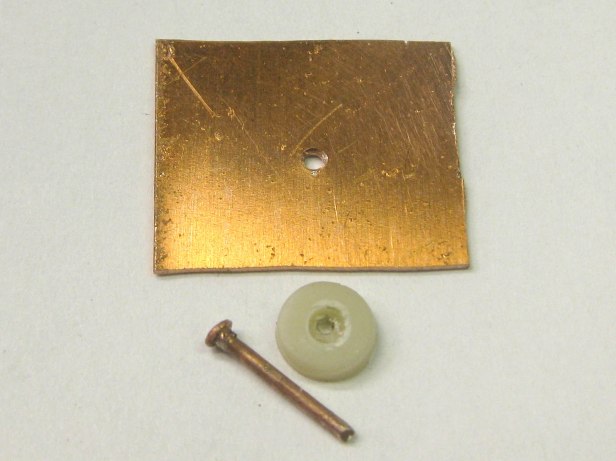
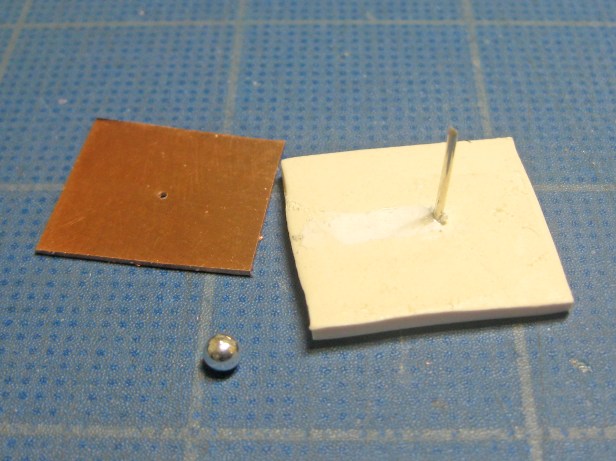
I first routed out a circular recess in some baked Kato clay. Then, I punched a rather large hole in the copper sheet to give the polymer rivet some thickness and strength.
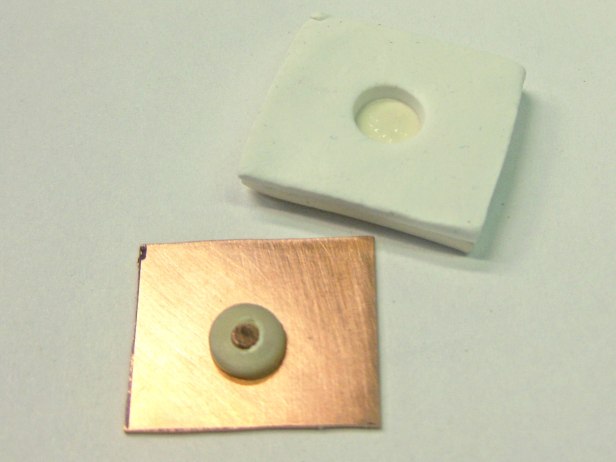
Next, I made a snake of polymer and put a thin layer of Kato liquid clay in the recess. I filled the recess with one end of the raw Kato snake, threaded the rest of the snake through the hole in the copper. I trimmed the clay and squashed it with my fingertip to make a nice little button on the back.
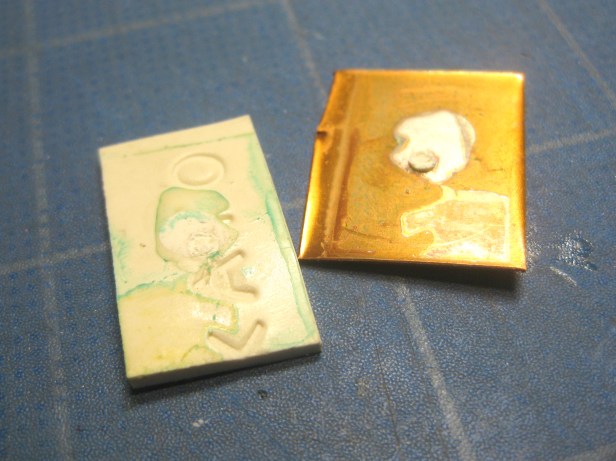
After baking and cooling I tried to pull it apart. Unfortunately, it broke off fairly easily. If the rivet were much thicker, it might perform better.
2. Rivets visible on both sides
In the photo below, the rivets are visible on both sides. Since you’re hammering just the metal, it shouldn’t affect the polymer. I go into more detail on how to rivet in my blog post Riveting Polymer Clay.

Since this solution is visible on the front, it needs to be integrated into the design. It does a good job of attaching polymer to metal.
To rivet, it’s best to use 18 gauge or thicker wire. You can try head pins, but they’re generally 22 gauge and a bit thin and difficult to work with.
I temporarily glue the polymer to the metal with Liquid Fusion glue so it doesn’t move while I’m working.
Drill a hole the same size as your wire, or a gauge smaller, through the polymer and metal. It’s important the wire fit very snugly in the hole or it will bend when you hammer it. Chamfer the hole in the metal with a larger drill bit or ball bur so the edges are clean and beveled. This creates space for the metal to fill when you hammer the rivet.
To protect the metal ball, buy or make a riveting anvil. I made one by taking a bolt with a rounded top and drilling a round divot in it with a ball bur.
Put your anvil in a vice. Push your rivet through both layers and trim the end of the wire flat so it sticks up about a millimeter above the metal. File the end of the wire to remove any cut marks.
Place the ball head in the divot in the anvil. Hammer the end of the wire with gentle taps using a riveting hammer or chasing hammer until the rivet is fairly flat and fills the beveled hole. Sand until it’s level with the metal.
3. Rivet baked polymer to metal, then adhere final polymer to the baked polymer with liquid clay
I didn’t think of this method, but it’s perfect. The rivets will all be covered up by another layer of clay. I don’t have to worry about messing up my final sculpted piece with hammering.
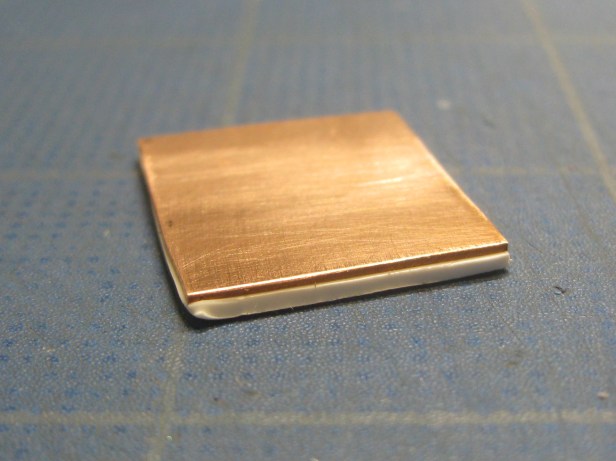
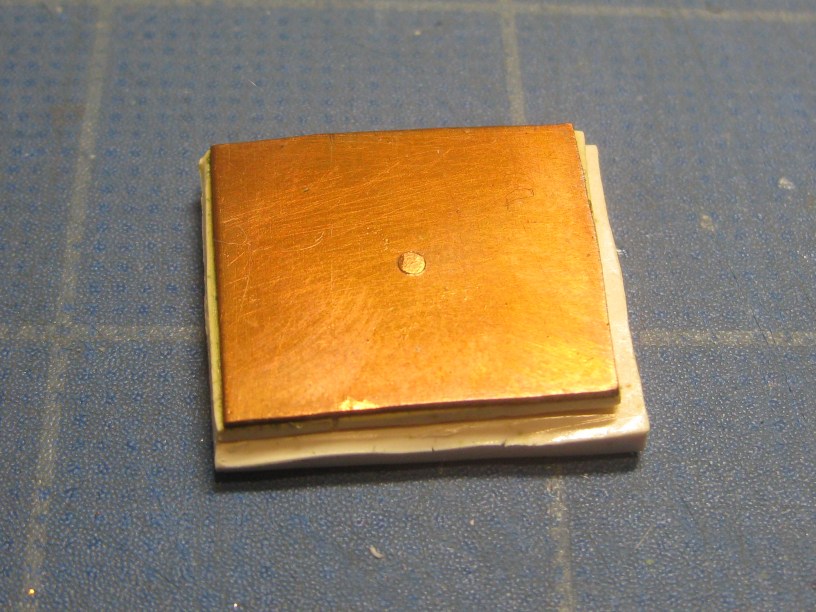
First, I baked a thin layer of polymer stuck to a piece of copper. I then drilled a hole through both layers the same size as the wire I was going to thread through it. It’s very important that the wire fit snugly or the rivet will bend. I then took a larger drill and cleaned up and beveled the sides of the hole in the copper. This allows room for the rivet to fill when you hammer the end of the wire or head pin.
If you use a head pin, the polymer side would be prettier, but it doesn’t really matter because it won’t show. I made this rivet by balling up the end of an 18 gauge copper wire and then hammering it thin.
Even though the head of the rivet was thin, I had to route out a hole in the backside of top layer of polymer so the two layers would lie flat against one another.
Only tidy a little rivet shows on the back. The polymer is thick enough that it won’t pull out.
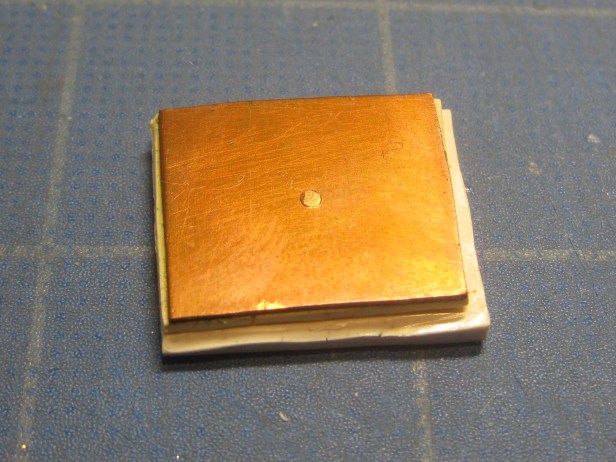
With the top layer of polymer added, it’s fairly thick, but holds together well.
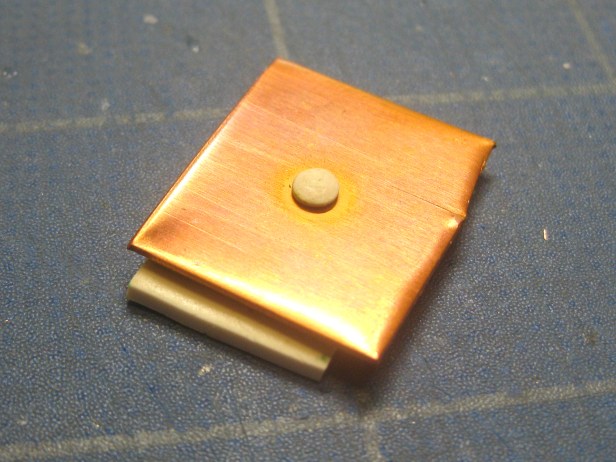
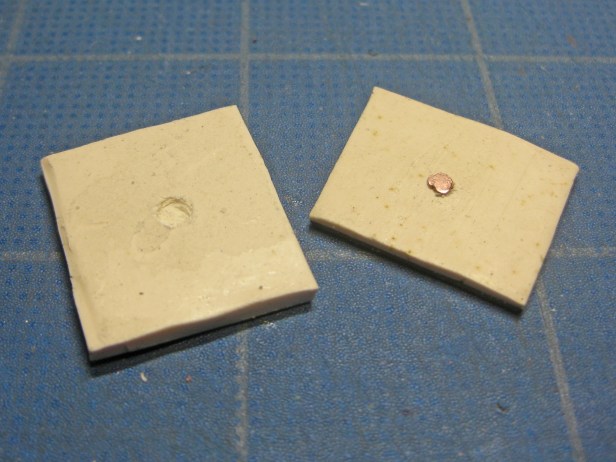
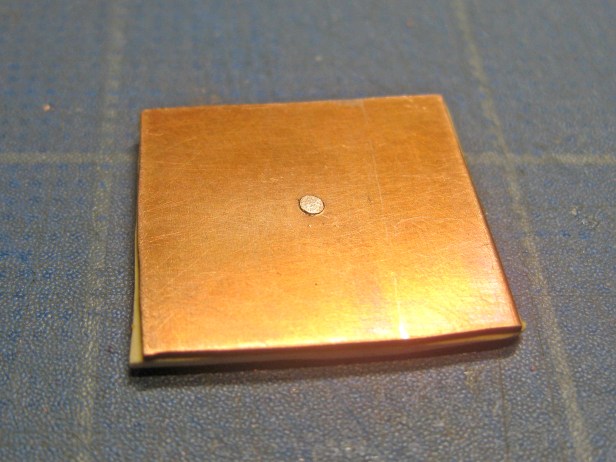
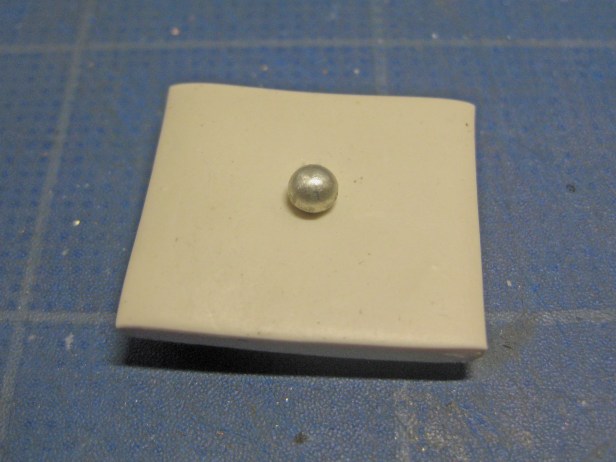
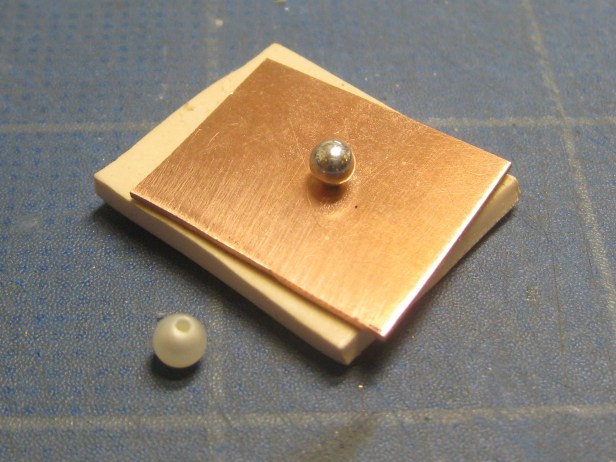
As an alternative to riveting an entire sheet of polymer to the metal, I made what I’ll call a polymer mounting pad.
This is a circle of baked polymer with a hollow routed out so the nail head rivet will sit flush with the top.
Then I riveted the mounting pad to the metal, cut a corresponding circle out of raw clay to fit over the mounting pad, joined them with liquid clay and baked.
4. Using a nut, bead or pearl to capture the wire end
If you like tiny bolts, they’re available in brass, stainless steel, copper-plated, silver plated, gold-plated and black oxidized through Etsy, Reactive Metals and other sources. You can embed the head of the bolt in raw clay and bake it. If you solder, you could cut off the head and attach something decorative made of metal to show on the surface of your clay. You can also buy threaded rods without heads.
To make your own bolts, put one end of a brass rod in a vice with a little bit sticking out and hammer it into a nail head. Then lubricate your threading die with cutting oil and cut threads on the other end. This is fairly simple process. There are several instructional videos online.
As an alternative, you can ball up the non-threaded end with a torch. Brass didn’t make a very nice ball for me, but you may have better luck.
In this example, I soldered a small ball of argentium onto the brass rod. This would look nice on the front of the clay.
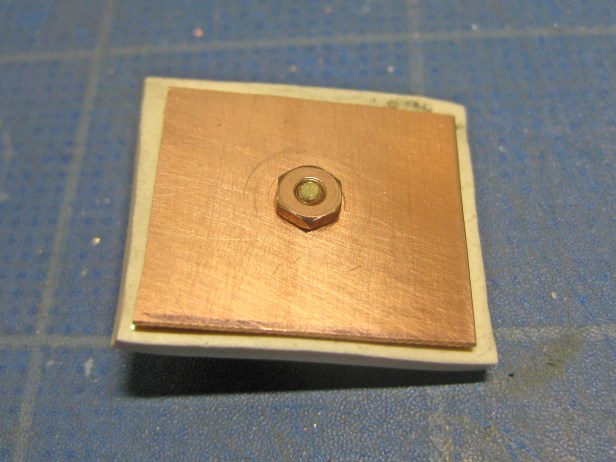
The copper-plated nut in the photo above is one of the larger nuts. The brass nuts that I found at MicroFasteners are much smaller. See photo below.
I had to rethread the copper-plated nut because the plating seemed to have made the hole smaller. Luckily, I bought a set of small taps and dies.
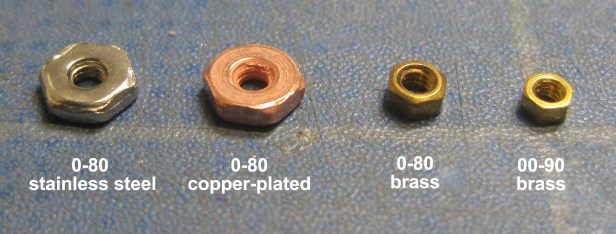
Nuts come in brass, brass-plated, copper-plated, silver-plated, gold-plated, black oxidized and stainless steel. It seems most small nuts and bolts are made for miniature model building. See the Reactive Metals site for jewelry-quality nuts and bolts.
Jewelry wire doesn’t come in the right sizes for threading, or at least I couldn’t find 15 or 17 gauge wire. If you want silver, copper or gold wire, it’s possible to use 14 or 16 gauge and file or sand it smaller, or run it through a drawplate or rolling mill, to reach the proper diameter for threading. If you don’t mind brass, it’s easier to buy brass rod.
To fit the smallest nuts (00-90), the brass rods need to be 3/64″ (0.047″) in diameter. They take a 00-90 threading die.
The next larger size is a 1/16″ brass rod (0.063″) which uses a 0-80 threading die. It’s a tiny bit bigger than the 0.060″ recommended, but will still work.
These rods are fairly thick and hard to bend over and embed in clay, though you could hammer one end into a thinner paddle, bend it over and embed it.
If you use a lot of little bolts, MicroMark sells a handy tool for grabbing and screwing on the nuts.
Half-drilled metal beads or pearls
You can also glue a half-drilled metal bead or pearl to the end of a wire sticking through the back of the metal with some GS Hypo Cement or Epoxy 330–a two-part jeweler’s glue.
This is a 3mm, half-drilled, silver-plated bead made for use with memory wire. They are available for sale plated with various metals, such as gold, brass, gunmetal, etc. You don’t need to use memory wire, which actually seems rather small for the hole. The metal bead fits well on 20 gauge wire. I roughed up the wire with my wire cutters and used Epoxy 330 to adhere the bead.
I was trying to avoid glue, so this solution isn’t as permanent as I prefer. You can buy 3mm half-drilled pearls as well, in white, black, pink and chocolate. It would be especially nice design addition if the pearl were on the front, rather than the back. You could also make your own half-drilled polymer beads.
5. Wire loop on a head pin
Here I’ve taken a nail head rivet or a head pin and put it through a hole drilled in the metal, trimmed and curved over the wire, put a snake of polymer through it and then added more polymer on top. I had to use tape or sticky clay to prevent the wires from falling out until I could get the polymer in the loops.
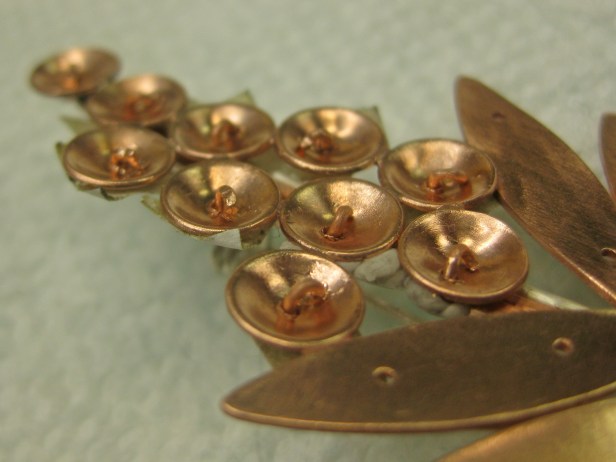

Here’s the back and front of the brooch with little half-domes of polymer in copper cups and riveted, patterned polymer leaves below.
6. Pierce a tab out of the metal sheet, punch a hole in it and bend it down
This method isn’t very attractive on the back, but it works. If the cut out portion were a design instead of a simple square, maybe I’d find it more appealing.
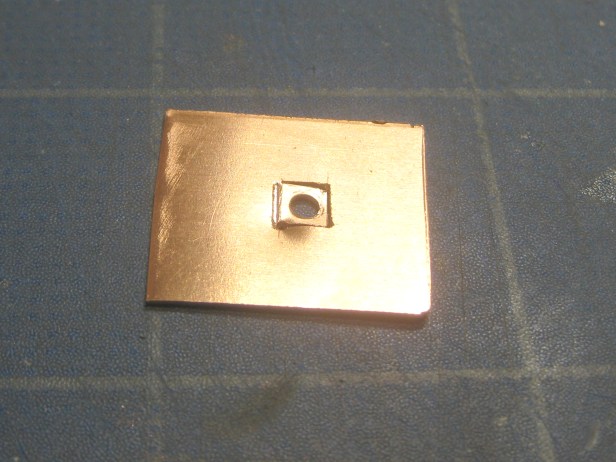
To do this, I pierced three sides of a square with a jeweler’s saw to make a tab. Then, I routed away some of the metal with a round bur to create a score line where I wanted it to fold down. Then I punched a hole in the middle of the tab.

I pushed the tab out and folded it down with a pliers. Next, I filled the hole with raw Kato clay. I pressed the tab into a thick piece of clay.
 This method requires a thick piece since the tab sticks up so high.

In trying to pry the polymer off after baking, it did move away from the metal a little, but that was it. It seems to be on there quite securely.
7. Connect baked polymer to metal with a bent head pin, then adhere final polymer to the baked polymer with liquid clay
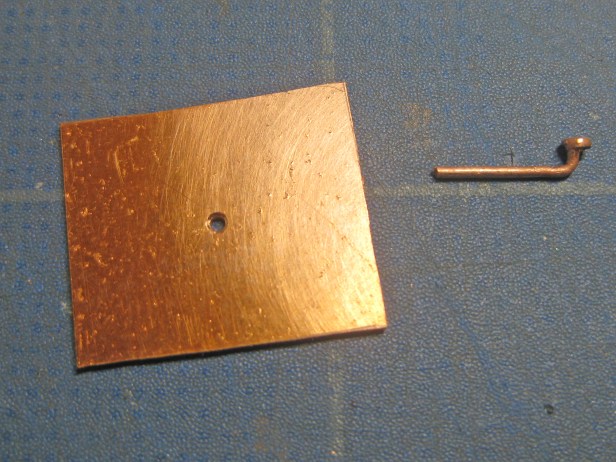
Bend a head pin or nail head rivet over 90˚ very near the head. Apply a layer of raw polymer to the metal. Push the headpin through both the hole in the metal and through the polymer.
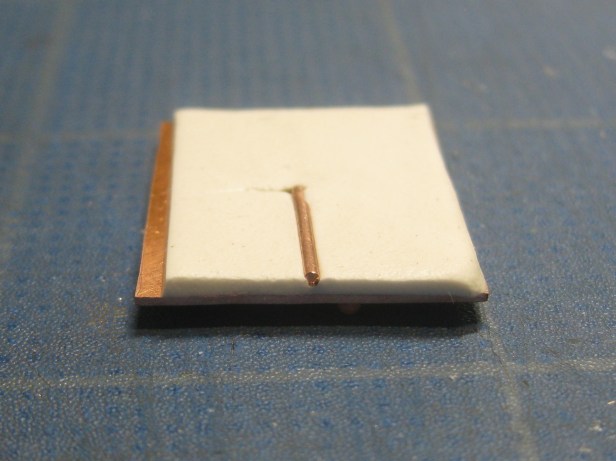
Then lower the wire into the layer of raw polymer so it’s embedded and doesn’t stick above the top of the polymer.
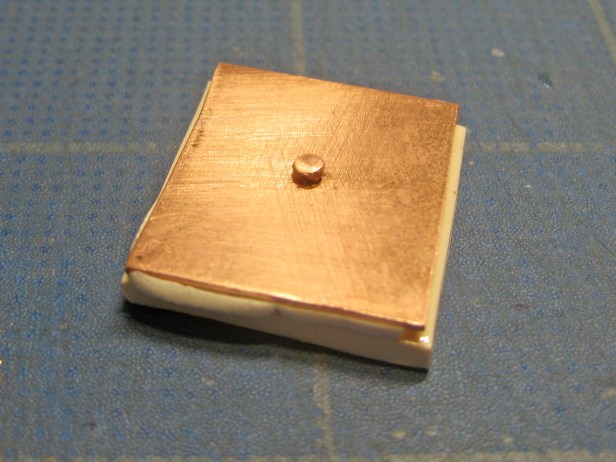
Adhere your final piece of polymer to this base with some liquid clay. It holds well, though it is a bit thick.
8. Bend the end of the wire into a curlicue and cover it with a little mound of polymer
In the photo below, I pushed balled headpins through holes in the baked polymer and metal. Then I bent curlicues on the ends of the wires, bent them over flush with the metal.
To prevent the curlicues from catching on hair or clothing, I put little of raw polymer on top of them and tidied them up using plastic wrap and a micro circle cutter. Then I pressed a stamp into them to make a little design. As a finishing touch, I rubbed metallic copper powder into the raw clay then baked them.

A big thank you to everyone who contributed ideas and information toward this!
