

I was having a hard time getting uniform textures from my rubber texture mats. I ran one through the pasta machine, but it got elongated. I used an acrylic roller, but the texture mat moved or the texture was too shallow in places. I pressed the mat with my fingers and palm, which worked fairly well unless the clay was too hard.
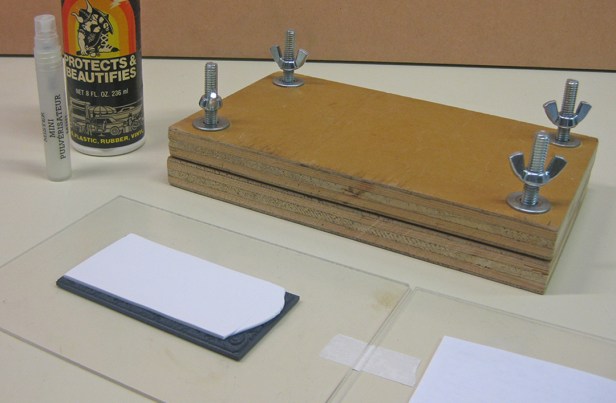
What came to me was the idea of a flower press–the type used for drying flowers. I asked my husband to make the press in the photo above. I like it a lot.
It’s made of two 3/4″ thick pieces of medium density overlay wood (MDO) with holes drilled in each corner for bolts, washers and wing nuts.
I make a sandwich of the following layers:
- A clear acrylic sheet
- A piece of paper so the clay doesn’t stick to the acrylic
- A sheet of clay
- A rubber texture mat treated with water, Armor All or cornstarch as a mold release
- A second clear acrylic sheet the same size as the first
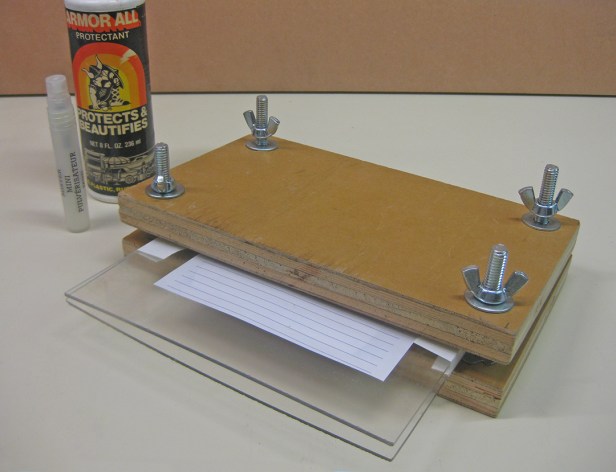
I hold this sandwich together with a piece of tape on each end and slide it between the two pieces of wood. Then I tighten the wing bolts evenly and as tightly as I can by hand.
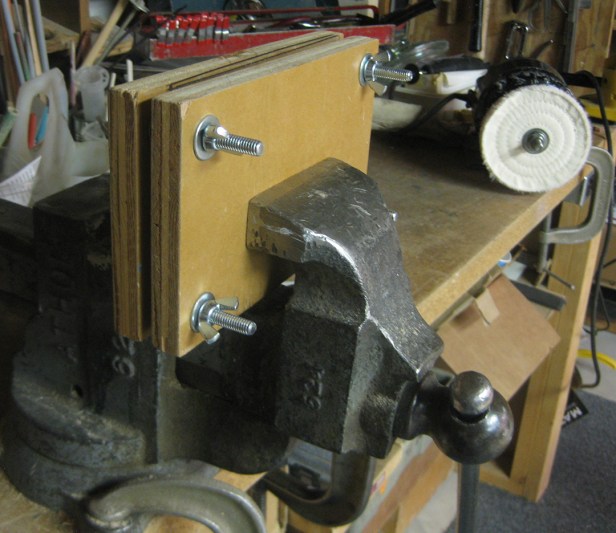
It will still bulge in the center, so I put it in the vice and squeeze the center firmly. It takes a little practice to get the feel of it. If you compress it too much, the texture mat will go all the way through the clay.
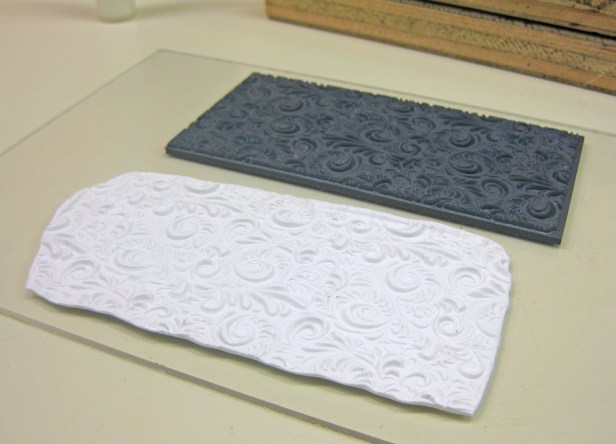
Separate the layers and voila! Beautiful, uniform, undistorted texture.
