
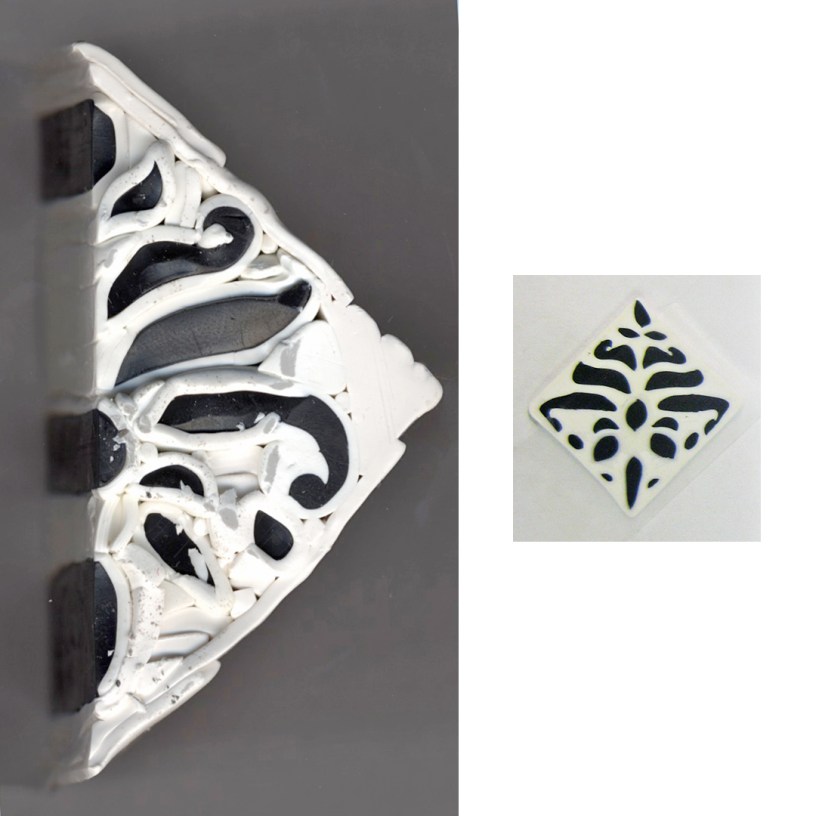

I love damask. I designed this cane and spent much time putting it together, but when I reduced it, it went horribly wrong. The nice curves were smashed against the sides. A lot of white clay squished out the ends, which should have told me things weren’t going well.
I had fairly stiff black clay and fairly soft white clay, both Kato. It hadn’t sunk in that the clays really and truly need to have the same consistency. I hadn’t tried leaching yet.
What I learned from this:
- It’s really important that all the clay be the same fairly stiff consistency for a cane like this. Leach, add liquid clay, Sculpey Clay Softener or Fimo Mix Quick until all clays feel the same.
- Don’t put the design right next to the outside of the cane. Add a cushion of clay.
- Fill all the gaps really well. Don’t leave holes because clay will move to fill them. This can get ugly.
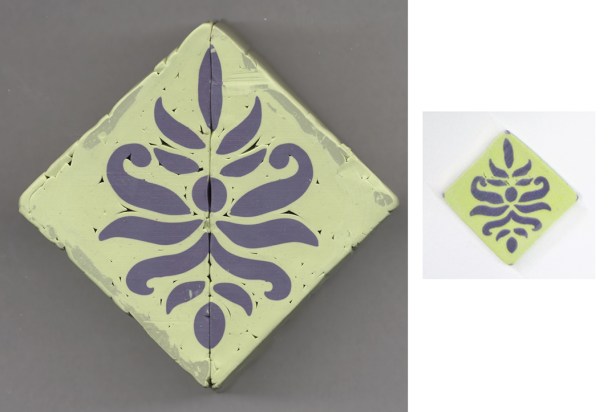
I had better results with the above cane because I was more careful about the two colors of clay being the same consistency. I used the reducing techniques in Wendy Jorre de St Jorre’s tutorial, which helped considerably. I also added more of a clay cushion around the outside of the design.
What I learned from this:
- Make the corners on square canes sharp, not rounded. If you make a veneer, this helps the cane slices join well.
- It’s important the cane slices are the same thickness, unless you really like to sand.

Very informative! I’m glad I found you. I love learning from other people’s mistakes, as well as their insights!
LikeLike
Thanks, Karen!
LikeLike