
To use this technique it’s important to follow the instructions below. I am not responsible for anyone damaging their laser printer.
1. The baked polymer must be as flat and thin as copy paper or cardstock with clean cut edges. It must be baked. I use Cernit Number One.
2. You may need to use the cardstock and transparency settings on your printer so the printer doesn’t jam and the ink doesn’t smear. It is like printing on plastic.

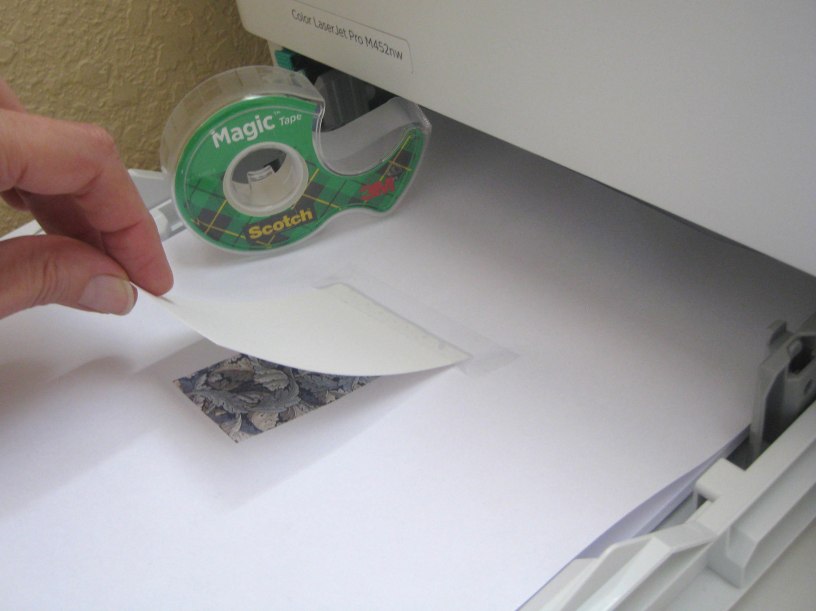
3. If you want to use a partial sheet of polymer, I suggest printing the image on plain paper first so you can see exactly where it is and how large.
Make sure to use the brand Scotch Magic tape to adhere the leading edge to this piece of paper. This is the edge that goes through the printer first. (See photo above.) Other tapes could react badly to the heat in the printer and stick to the drum which could be a costly mistake. See my previous blog post for how badly most tapes perform when heated: https://polymerclayjourney.com/2024/03/05/tape-and-adhesives-that-resist-heat/
This technique also works well for other expensive specialty papers, like waterslide, where you don’t want to use a full sheet.
4. Sealing isn’t required as the printing is quite durable, but you can seal it with thinned down liquid clay and bake again. Apply it quickly and confidently. Don’t overwork it as the plasticizer can reactivate the laser toner and smear. I haven’t tried other sealants.
Of course, you can also adhere the thin layer of printed clay to a piece of thicker clay with liquid clay and bake again.

