

After spending too much time wet sanding by hand, I wanted (needed) a power sanding tool.
First, I bought an electric toothbrush, pulled out the bristles from four brushes, cut out little circles of MicroMesh and glued them on. That was better, but really small for the size of projects I tend to do. I could have done the same with our Dremel tool, but it would still have been small.
I looked seriously at JoolTool, which is a nice sanding and buffing tool. The cheapest I could find a new one was through Amazon for $487, including the sanding supplies needed for polymer. I was concerned about sanding flat items with it because if you put something flat against their Ninja discs, it will snag the edges of the sandpaper. They have a workaround for this.
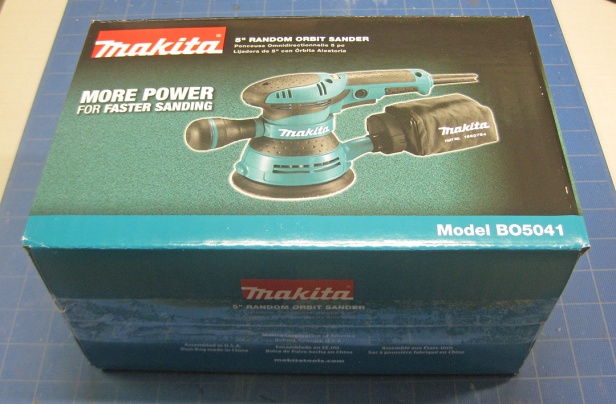
Then, I was looking online for larger discs of MicroMesh and found it available in 5″ diameter hook and loop discs (velcro-backed) for random orbit disc sanders. Perfect. Now I just needed a random orbit disc sander. I chose the Makita model BO5041, which seemed good based upon Amazon reviews.
You can create the same, or similar, set up to what I did for $119 – $185. At the bottom of this post, I’ve outlined the specific products I used and how you can reduce the cost. I bought several things that didn’t work out which aren’t included in these figures.
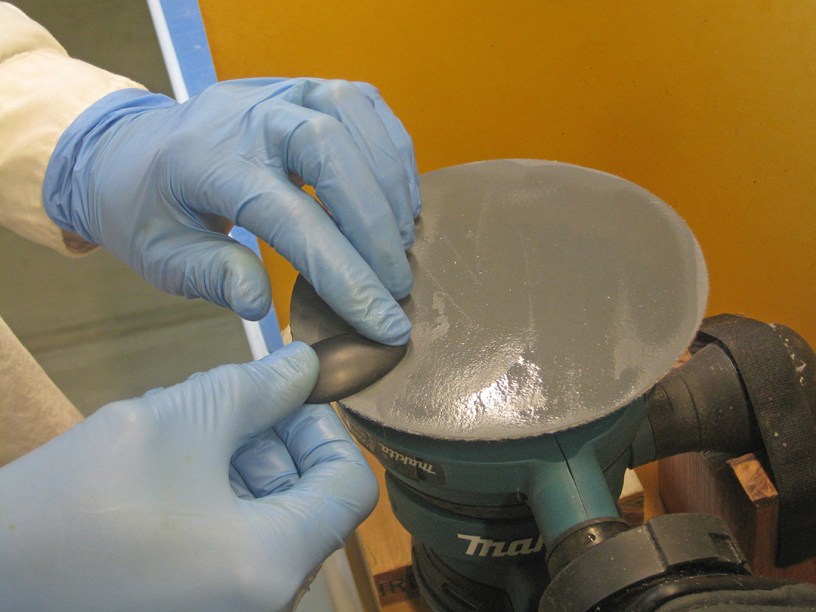
The video above shows the hard and soft sanding surfaces of the random orbit disc sander, the velcro-backed sanding and polishing discs, its speed and how I use it to wet sand and polish a black cabochon. I chose plain black because it shows every flaw.
RANDOM ORBIT DISC SANDERS
Random orbit disc sanders are made for sanding wood, waxing and polishing. The disc rotates in 1/16″small circles and at the same time it spins around. It can go fairly fast, but if you accidentally lose hold of a cabochon, it won’t go flying off like a bullet from a buffing wheel. It dances around on top of the disc and then falls off the side. (See video above.)
The sander isn’t very loud. It does vibrate and that becomes most obvious if you use both hands to press what you’re sanding onto the disc. If you hold your polymer piece with one hand and gently press it onto the disc with the other hand, the vibration is greatly minimized. I don’t like vibration and it isn’t good for people with arthritis or carpal tunnel syndrome. You also don’t need to press hard. You can let the sander do the work.
If you’re using both hands, be aware that your dominant hand can apply more pressure without your knowledge. I learned this because I was puzzled why both sides weren’t sanded equally.
I wanted a flat, hard surface for sanding flat objects and a soft, spongy surface for sanding curved objects. The round sanding base is fairly hard and covered with velcro to accept hook and loop discs. Removable cushioned discs are also available, so that was easy.
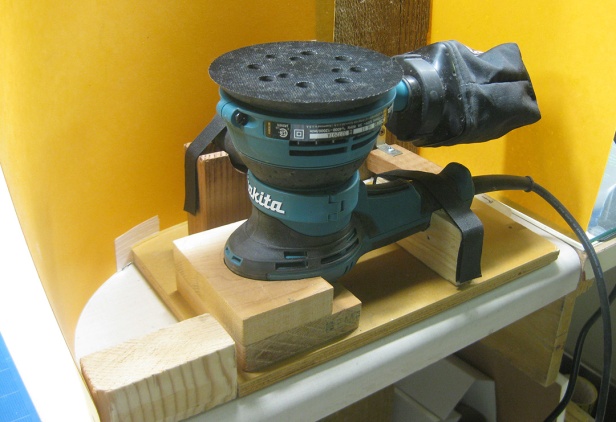
The model I bought has a removable second handle, variable speed and a locking trigger. My husband put the second handle at a 90˚ angle from the main handle to make three points to support it when it’s turned upside down. This creates a stable base.
The small, black, vacuum bag is for dry sanding, which I don’t do. It vacuums particles through holes in the sanding discs into the bag. Instead of buying sanding discs with holes, I buy “no hole” discs and spritz them with water to wet sand. I try to avoid getting water in the motor.
My husband built a wooden stand for the sander with velcro straps so I could have a stable sanding surface. (See photo below.) It’s surrounded by yellow stencil board because wet sanding can throw off small spatters and I didn’t want to clean everything around it.

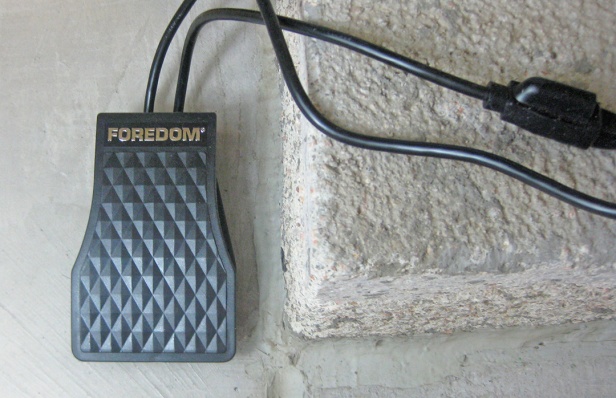
I decided to buy a foot pedal to control on/off and speed because I’ve found it so handy on my clay machine.
SANDING DISCS
The next step was to learn which grits of sanding discs worked best for polymer clay when using a power tool.
I bought sanding discs in grits from 80 to 12000, all without holes. I didn’t need or want all those grits, but they come in assortments, which seems like a less expensive way to buy them. From testing, I learned that all I really need are 800, 1200, 1500, 1800, 2000, 2400, 3200, 3600, 4000 and 6000.

In the past, when wet sanding by hand, I used 280 wet/dry sandpaper for quickly removing a lot of clay, then MicroMesh in 1500, 2400 and 3600. Then I polished with a cotton wheel on an electric buffer. This was efficient and gave satisfactory results.
The disc sander works faster, which means it will remove polymer faster. I found that 800 grit is the coarsest I’m comfortable using for flat surfaces and 2400 for curved surfaces. With those, I use a gentle touch and frequently check the progress.
I’ve made polymer mosaic tiles that were too thick and I needed to remove 1/16″ of clay from them. In that case, I used even coarser grits. Coarser grits just need to be followed up by successively finer grits because sanding is all about minimizing or removing the marks you made with the previous grit.
When sanding curved polymer pieces with coarser grits, I have to move the polymer piece quickly and confidently to avoid edges and flat spots forming where I don’t want them.

GRITS THAT SEEM TO WORK WELL
When I sand, I spray the disc with water and spread it out with my fingers to the edges. This makes the polymer dust particles turn into a mud that can be wiped off with a paper towel. You don’t want the dust to go into the air where you could breathe it.
After some experimenting, I found the following grits worked well for sanding polymer clay. I may refine this further with more experience.
- 800, 1500 and 2400 on flat surfaces that have visible flaws: bumps, dips or deep scratches
- 2400 very gently on curved surfaces that have visible flaws
- 3600, 4000 and 6000 on surfaces already sanded with the above grits or on surfaces that are almost perfect
- Felt
- Soft cotton fabric or fine terry cloth
I’ve skipped grits, but you can add or subtract grits, based upon what you’re comfortable with. Please practice on something unimportant first because power sanding works faster than sanding by hand.

OTHER SANDING PRODUCTS
I tried Novus Plastic Polish which comes in three parts. It seems like a good product, but it smells like laundry detergent and I’m sensitive to perfumes.
POLISHING
I also wanted to see if I could use the random orbit disc sander for polishing. I tried many different cloths and found soft cotton fabric and fine terry cloth worked the best to give a satin shine.
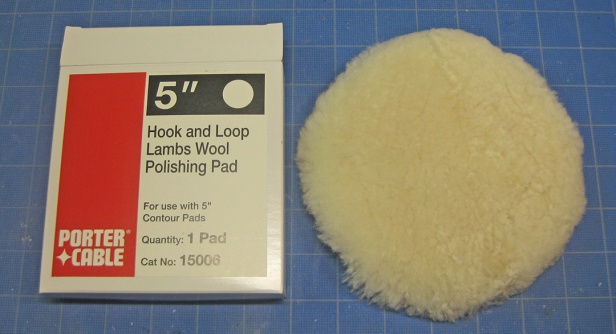
What didn’t work for buffing was the lambswool bonnet in the photo below. It’s too loose. Without wax or compound, it has no effect.
Nothing I’ve tried so far has given me the glass-like finish I get from an electric buffer with a cotton wheel. I even tried attaching a cotton buffing wheel to the disc sander with velcro, but the spinning slows down too easily when pressure is applied.
SPEED
For sanding, I use a pretty slow speed. When using felt or fabric, I use faster speed, a lighter touch and keep moving the polymer so it doesn’t melt from friction.
CLEANING AND STORING DISCS
I spray the sanding discs with water and wipe them off with a paper towel to clean them. You could put them under running water, too. A clean disc makes sanding more efficient. It’s also good to run your hand over the smoother discs to remove anything that may have gotten there by accident that could scratch your polymer.
I store the discs flat, rather than on their side, so the edges don’t curl up.
The felt and fabric pad covers can be washed by hand, if need be.
SUPPLY LIST
These prices and links are from Amazon and don’t include shipping. I haven’t included prices on wood, screws, velcro strips, stencil board or fabric.
*$15 One 5 inch soft interface disc pad, hook and loop
*$25 5 inch MicroMesh, no hole, sanding discs, 1500, 1800, 2400, 3200, 3600, 4000, 6000, 8000 and 12000 grit.
$15 5 inch, no hole, hook and loop sanding disks, 5 each of 800, 1200, 1500, 2000
$12 5 inch, velcro-backed, viscose rayon fiber felt polishing pads, pack of 5
$39 Foredom variable speed foot pedal
TOTAL $185
To save money, the top three items with asterisks in front of them are all that’s necessary to start. They total $119.
- There are less expensive or used sanders available
- You might not need as many grits of sanding discs
- If you skip from MicroMesh directly to a buffer, you don’t need felt pads
- You can make your own fabric-covered or felt discs
- The foot pedal isn’t necessary
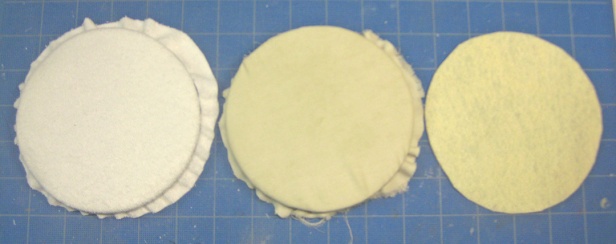
In the photo below are two cushioned discs I covered with fine terry cloth and an old cotton sheet. They’re held to the cushioned pads with rubber bands. Third is a piece of felt cut into a circle. Most felt will stick directly to velcro, though I’ve found some that doesn’t. Microfiber cloth would also make a good buffing cloth.

Wonderful information! Thank you for doing all this amazing work and so generously sharing .
LikeLike
Thanks, Jayne!
LikeLike
Very précise, and Very Help full! Juste have to find the items in my country….
LikeLike
Thanks, Sandrine! Best wishes with finding what you need.
LikeLike
Thank you for the detailed, and tested information. This is great!
LikeLike
My pleasure!
LikeLike
Thank you Phyllis for writing such a nice article and generously sharing it with us! Wonderful information.
LikeLike
Thanks, Laura!
LikeLike
Thanks Phyllis for sharing your experience with power sanding along with a list of discs and machine. Very helpful. Instead of setting up machine upside down, do you think it would work better if its sideway so the sanding disc is facing you – just curious. I used something similar for a lapidary workshop and thought it was working out well.
LikeLike
If that worked for you, you could try it. Lapidary is wet sanding, too, right?
Things I can think of that might be an issue:
1. water dripping off the sanding disk and it drying out sooner
2. water and polymer “mud” spattering in your face. I guess that depends upon how close you get to your work.
3. the jig to hold it might be trickier to build
If it works better, please let me know.
LikeLike
Phyllis – thx for your reply. Please see the link below – at 3:39 time mark on the video he talks about gravity fed continuous water – the splash goes down and gets drained into a bucket. I have used a similar machine but with three wheels and had no problem with water splashing.
https://nwtparks.ca/explore/waterfalls-route/alexandra-falls
LikeLike
Is that the right link?
LikeLike
I use a Jool Tool cotton cloth piece for sanding shining my crochet hooks and styluses and it seems to work OK. But you are the master of this! Great tutorial. Thanks.
LikeLike
Thanks, Mari!
LikeLike
This is such great information Phyllis. Thank you so much for giving us your knowledge and experience
LikeLike
I’m glad it’s helpful.
LikeLike
HI Phyllis, Thank you for a really good and instructive video and description! I have been looking for a good sanding solution for quite a while now, and your solution seemed so good that I have gone ahead and ordered all relevant pieces.
I have not received everything yet, but how do you attach the foot pedal to the machine?
LikeLike