


Since I began using polymer clay, a little over a year ago, I’ve machine-conditioned with the fold of the clay horizontal. I’m accustomed to it and it’s the easiest for me.
When I started testing translucent clays, I began to wonder if I could improve my conditioning method to reduce air bubbles. I didn’t want to assume that how I’d been doing it was the best way.
I find it disappointing to have a smooth piece of clay come out of the oven with bumps caused by air bubbles I couldn’t see. If I can see them, I’ll slice them and press out the air.
I’d never hand-conditioned until recently when trying Pardo for a second time. (I had to look up how to do it.) I’d also never conditioned with a food processor, though I’d dedicated one to it.
I suspected that clay scraps randomly layered together created pockets of air. I knew I should be careful to avoid air bubbles when folding clay together, but I was more interested in conditioning quickly.
The only way to figure this all out was to do a test.
TESTING METHODS
I used translucent Cernit and the following methods:
- hand-conditioning
- machine-conditioning with the fold down
- machine-conditioning with the fold sideways
- machine-conditioning with the fold diagonal
- machine-conditioned scraps
- food processor conditioning
All conditioning started from fresh clay, except the scrap method. The block of Cernit translucent I had was quite soft.
When I hand-conditioned, I carefully closed the snakes together from the fold up before I twisted them together and rolled them out again. I did this many times, then folded the snake into a block and ran it through the pasta machine until it looked smooth.
When I machine-conditioned, I tried to have the clay not touch, except for the fold at the very bottom. Letting it gradually close on its own as it ran through the machine seemed like it would trap less air than closing it by hand. I ran each piece through about 20 times.
I didn’t run the scraps through very much because they’d already been conditioned.
When I used the food-processor, it didn’t take long to mince the cubes of clay into little pieces. When the pieces weren’t getting any smaller, I stopped. I compressed them into a block and ran it through the pasta machine until it looked smooth.
I didn’t remove any air bubbles in any of the methods.
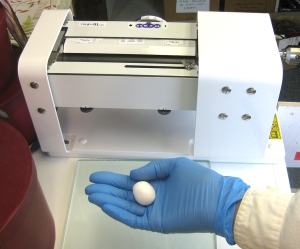
METHOD ONE: HAND CONDITIONING
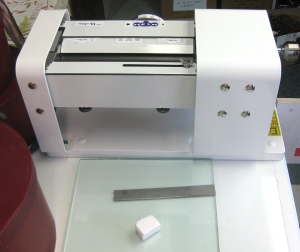


METHOD TWO: MACHINE CONDITIONING, HORIZONTAL

METHOD THREE: MACHINE CONDITIONING, VERTICAL

METHOD FOUR: MACHINE CONDITIONING, DIAGONAL

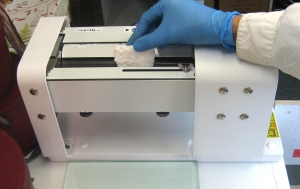
METHOD FIVE: SCRAP CONDITIONING

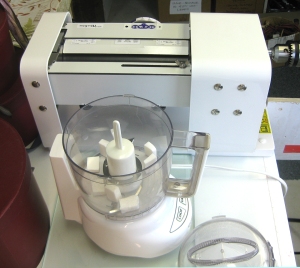
METHOD SIX: FOOD PROCESSOR CONDITIONING


RESULTS
Swatch #1: Hand-conditioning caused quite a few air bubbles. If someone knows how I can improve my method, please tell me.
Swatches #2, #3, #4: Machine-conditioning worked really well, whether horizontal, vertical or diagonal. I prefer horizontal because it’s easier to drape the sheet of clay open over the pasta machine. It also seems easier to make a rectangular sheet.
Swatch #5: Scrap conditioning also worked really well. The idea of layered scraps trapping pockets of air seems unfounded, at least with soft clay.
Swatch #6: Food processor conditioning made more bubbles than the other methods.
I understand that food processor conditioning works well to condition hard clay. It was quite easy to do. Until now, I’ve put hard clay through the pasta machine and added liquid clay until the crumbling, oozing mess became workable. I wonder if both methods create the same quantity of air bubbles when using hard clay.
It would be interesting to do this test again using firm clay.
As a side note, I’ve read that making very thin sheets of clay will iron out air bubbles. I’ve found this true. The problem is if I want a thicker sheet, I have a hard time getting the thin sheets back together again without making more air bubbles. Has anyone been able to do this?

To get a thin sheet thicker, I fold in half keeping the halves apart then run it through the previous setting, and keep doing that until I get the thick I want. I don’t feel this adds air bubbles.
LikeLike
Thanks, Jennifer!
LikeLike