
I was making hollow cylindrical pendants and didn’t want them to sag or distort in the oven. I have a horizontal bead baking rack that works very well, but these pendants were closed on one end. I could have put them in a bed of cornstarch or fiberfill, but I decided these pendants really needed to be baked vertically.
My first attempt at making a vertical baking rack is below. It’s unbent paper clips stuck through a slab of polymer clay. It works, it was quick to make, but I thought I could do better.

I scoured the Internet and found these stacking metal mesh boxes used for organizing drawers. They had to be small enough to fit in my oven and they had to withstand the heat.
I bought two that were 3″wide X 6″long and covered the bottom of one with aluminum foil so my bead needles wouldn’t fall through. They came with small, round, stick-on pads on the bottom that I removed.
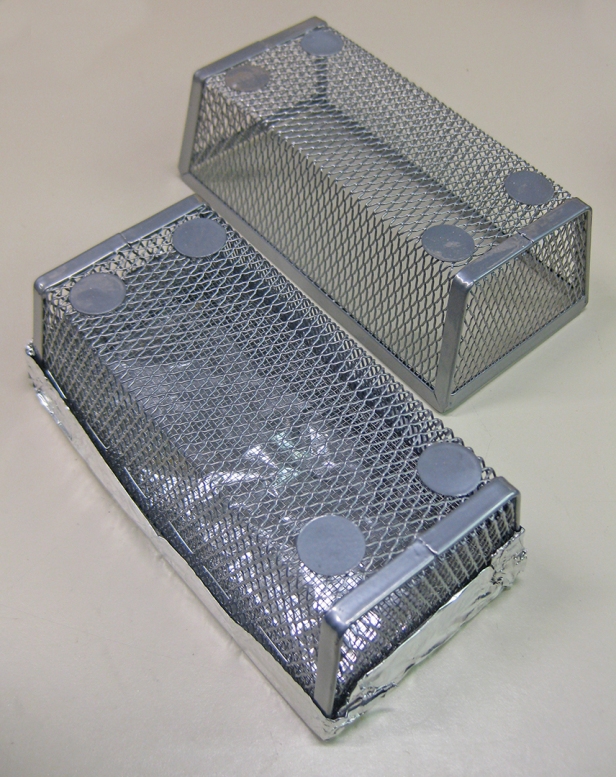
The bead needles really needed to be straight up and down, not leaning over. I thought two layers of mesh a certain distance apart would do the trick, but it didn’t. My husband stapled a layer of window screen in the bottom of the lower one and that fixed it.
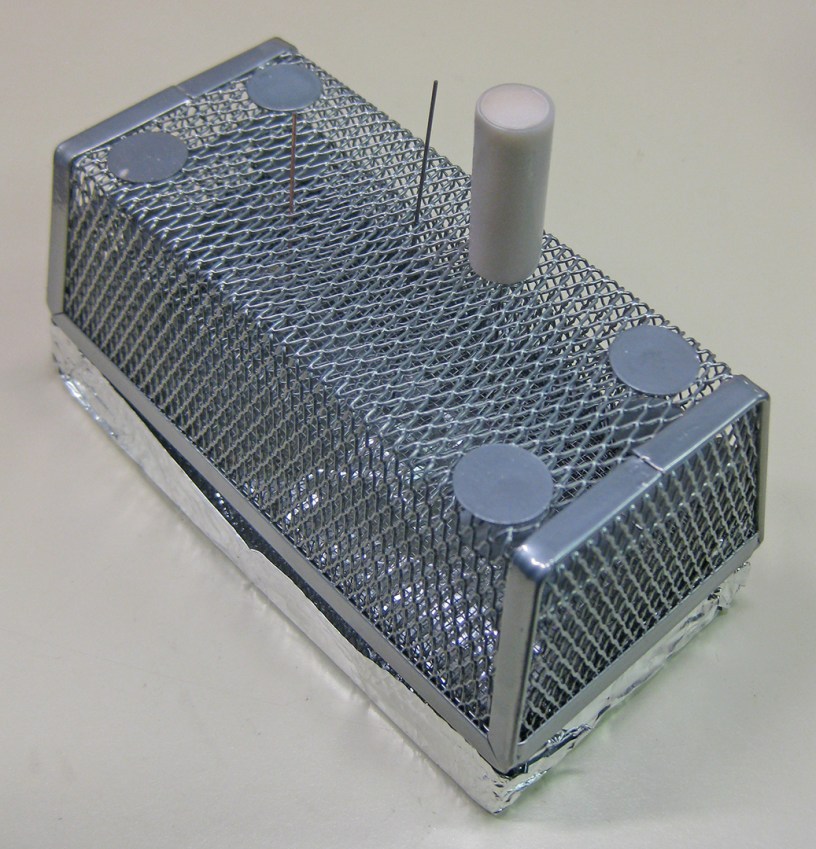
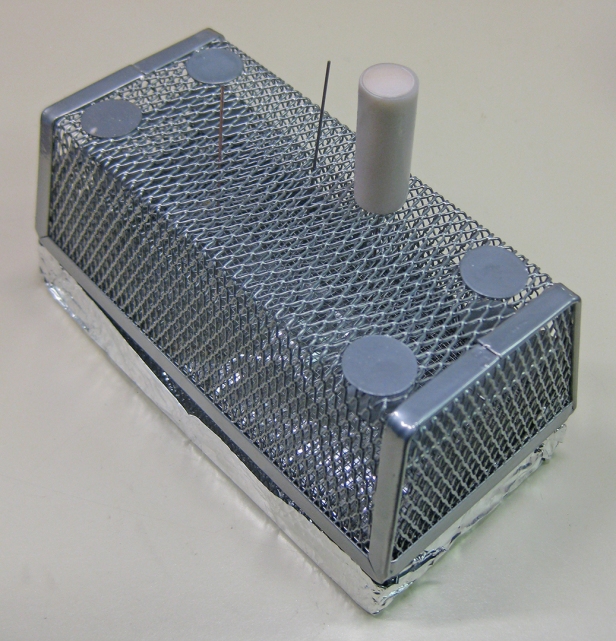
Now, I put the bead needles through three layers of metal mesh and they rest on the aluminum foil base. If bead needles are too short, I use a piece of straight wire.
To bake, I put the vertical baking rack on a tile or directly on the bottom of the oven. From the bottom of the box to the top of a typical bead needle it measures 3.75″ tall.
The finish on the metal boxes doesn’t seem affected by oven temperatures. I haven’t noticed any funny smell and their appearance hasn’t noticeably changed.
My polymer clay pieces can now bake securely upright.

Thanks for sharing this very clever idea.
LikeLike
Thanks for this, Phyllis. You are one clever gal.
LikeLike
Thanks, Laura!
LikeLike
I wish I had seen this a week ago. I was curing dozens of beads and wanted to cure them vertically, although I did not need to have them perfectly vertical. I cut 3 pieces of corrugated cardboard small enough to fit into my oven clamshell. (My oven clamshell is two 8″ square baking pans, clipped together like a clamshell, and I put my pieces to be cured inside them along with my temperature probe, and the whole thing inside my oven. It smooths out the curing temperatures and helps keep items from being burned.) I used a needle tool to poke holes in the cardboard, and stood my beads on toothpicks upright in those holes. It allowed me to cure a significantly larger number of beads in one curing.
LikeLike
You arrived at your own great solution!
LikeLike